The first Idea - The CUPS Printing System -
What have you need ?
Example --->
We have a PC like this one :
Pentium MMX 133Mhz, 64 Mb Ram, HD 512Mb, A Network Card 10 Mbps, CDRom 12x, SVGA max 800x600, floppy disk, Monitor 14'', Keyboard and mouse.
Connect with ssh client to the print server machine, example using putty.
Edit the file /etc/cups/cupsd.conf to configure the cupsd print service :
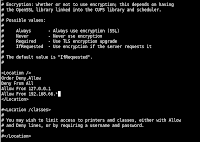
in the ... add the " Allow From [network] " to grant access to the cups web interface, example :
"Allow From 192.168.66.*"
in the ... add the " Allow From [network] " to grant access administration cupsd server, example :
"Allow From 192.168.66.*"
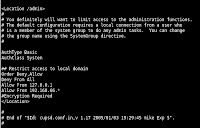
Start the cupsd service : /etc/rc.d/rc.cupsd start
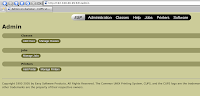
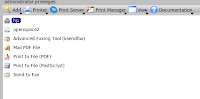
Access the web addministration interface to manage cupsd service :
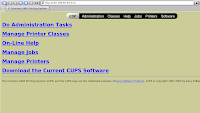
url : http://hostname:631 example "http://192.168.66.99:631"
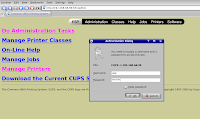
To access the adminisration section, click "Administration" on top menù and insert the user and password of the root account.
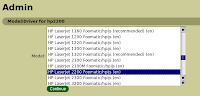
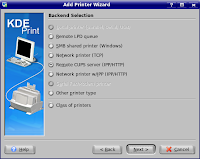
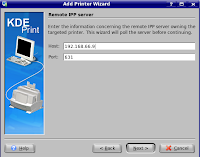
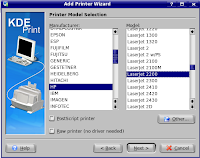
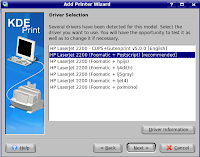
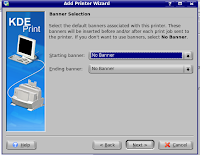
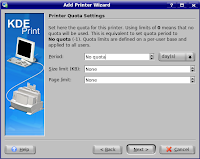
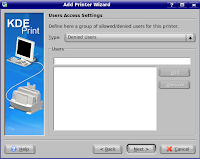
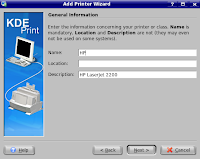
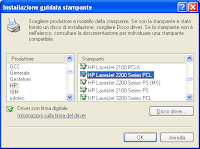
In the section "Printers" click "Add Printer", enter the "Name" and click "Continue", select the "Device: Parallel Port #1" and click "Continue", select the printer model and click "Continue", select the driver and click "Continue". Click on the printer name to finish installation.


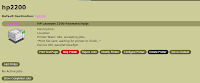


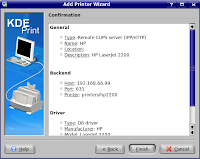
Your Printer now is ready !!!


Your Printer now is ready !!!
- What Computer models ?
- Intel 486 family SX, DX, DX2 .....
- Intel Pentium family , MMX, II, III ....
- Intel Celeron family
- Hardware components:
- Base : Hard Disk Drive, CPU, RAM, Video Card, Floppy Disk & CDRom
- RJ45 Network Cards ,

- Print interface,

- Printer,

- Operating System:
- Linux !!!!!!!!!!!


Example --->
We have a PC like this one :
Pentium MMX 133Mhz, 64 Mb Ram, HD 512Mb, A Network Card 10 Mbps, CDRom 12x, SVGA max 800x600, floppy disk, Monitor 14'', Keyboard and mouse.
- Installation Slackware Operating System following the post link
- Configure Cupsd Print Service :
Connect with ssh client to the print server machine, example using putty.
Edit the file /etc/cups/cupsd.conf to configure the cupsd print service :

in the
"Allow From 192.168.66.*"

in the
"Allow From 192.168.66.*"
Start the cupsd service : /etc/rc.d/rc.cupsd start
Access the web addministration interface to manage cupsd service :

url : http://hostname:631 example "http://192.168.66.99:631"

To access the adminisration section, click "Administration" on top menù and insert the user and password of the root account.

In the section "Printers" click "Add Printer", enter the "Name" and click "Continue", select the "Device: Parallel Port #1" and click "Continue", select the printer model and click "Continue", select the driver and click "Continue". Click on the printer name to finish installation.


- Configure Linux Client


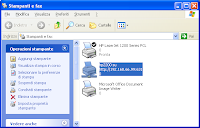
Your Printer now is ready !!!
- Configure Windows Client


Your Printer now is ready !!!
posted by Gianni at
06:19
0 Comments
![]()


